Important things you need
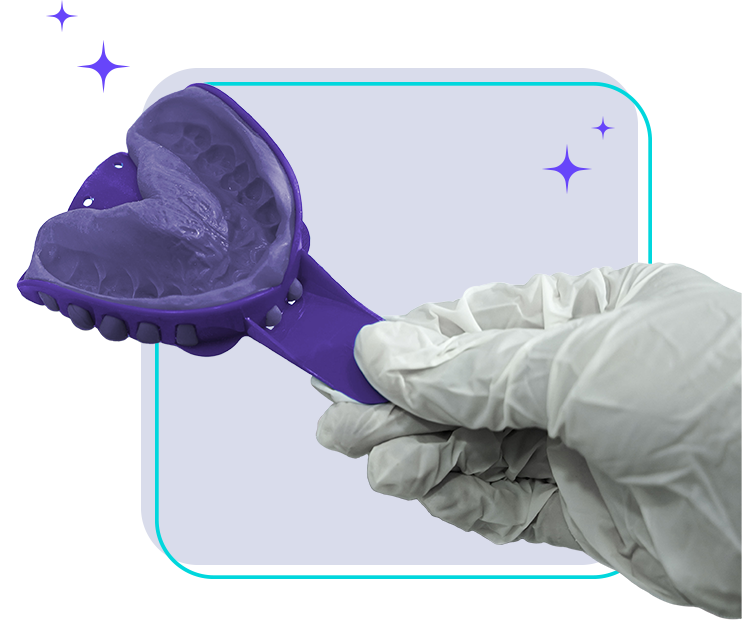
Trays
Test these trays for proper fit in your mouth before adding the putty.

Timer
Have a timer to track and follow the timing instructions.

Putty
Keep the putty close as you have minimum time to mix the putties.

Gloves
Gloves are included in the kit. Make sure to wear them before you start.

Cheek Retractor
Included in the kit to help you stretch your mouth and insert the trays.
Before you start

Wash your hands
Start with washing and sanitizing your hands

Brush and floss
Brush and floss your teeth to remove any debris or bacteria in your mouth.

Check the fit
Before adding putty, ensure that the trays fit in your mouth.
Let’s get started
Begin with preparing the tray for the impressions of your upper jaw. Work with only 1 tray at one time
Step 1. Mix and Mould
Your impression kit contains white putty and colored putty. To make the mold, put your gloves on and mix both putties until they are thoroughly blended into one solid color.
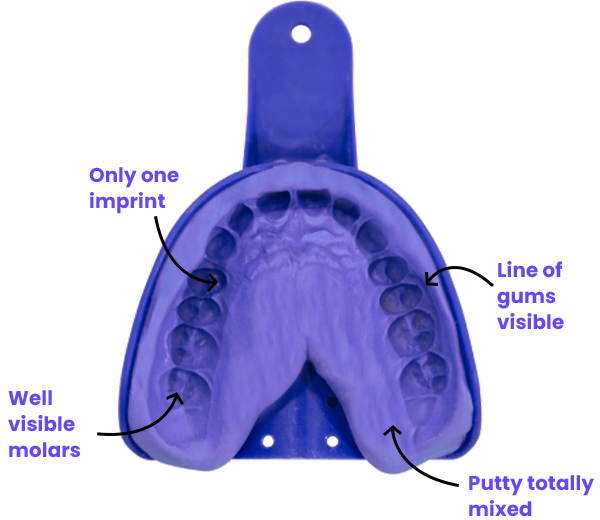
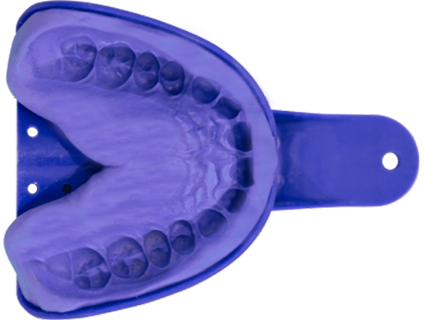
Step 2. Take impressions
Once the tray is ready with the putty, carefully bring the tray in your mouth and hold it in place. Gently insert it by applying even pressure on all teeth. Hold the tray in place for 4 ½ minutes until the putty is hard enough.
(Make sure the tray holder is directly under your nose).
For the upper impression use your index finger to break the seal first and then gently remove the impression out, for the lower impression use your thumb to break the seal first and then gently take it out.
NOTE: Do not remove the impression from the tray once they are done.
Step 3. Repeat the process
Repeat the process again for the upper jaw to make up for any discrepancies in the previous impressions. Follow the same instructions for the lower jaw and repeat the process twice.
Step 4. Send photos of your teeth
Use the cheek retractor included in the impression kit to move your lips apart, and take detailed images of your teeth and gums. Ensure that there is proper light and no shadows in your images. We need the following images from you:
Step 4. Send photos of your teeth
Use the cheek retractor included in the impression kit to move your lips apart, and take detailed images of your teeth and gums. Ensure that there is proper light and no shadows in your images. We need the following images from you:
Front Teeth: Close your jaw and take a photo of your teeth from the front.
Right Side: Close your jaw and take a picture from the right side of your mouth.
Left Side: Close your jaw and take a picture from the left side of your mouth.
Upper Teeth: With your mouth wide open, take a picture of your upper molars.
Lower Teeth: With your mouth wide open, take a picture of your lower molars.
Step 5. Send us your smile
Congratulations on completing the first step
The next step is to carefully pack your impressions in the box provided
NOTE: Do not remove the impression from the tray once they are done.


Here are some FAQs